Feeds:
Posts
Comments

Archive for the ‘Organic Gardening’ Category

So you figure you don’t have a “Green Thumb”? Then this short tutorial just might be what you are looking for. 

Thanks to Minde Wagner for sharing “How to Plant Outdoor Potted Flowers” with our readers. 

Time to play in the dirt.

Introduction

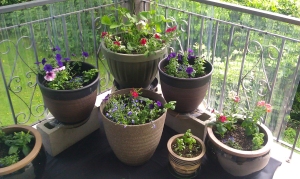
Flowers planted in June
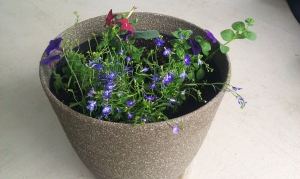
Pot 1 latest pictureThe flowers planted in June – photographed on July 4th.

Potted flowers July 2013 2

This article will guide you through the process of creating an outdoor potted flower arrangement. It will instruct on how to plant “partial-sun” flowers in a plastic pot.

This project should be done in spring in order to experience the full blooms in summer. Be prepared to use gentle hands throughout the entire process, and consider the idea that you may get a little dirty.

Before you begin, there are four basic things you need to think about:

1. The location of your flower pot

The location of your flower pot is categorized into 3 different types of sun exposure:

  • Full Sun – minimum 6 hours of direct sunlight each day.
  • Partial Sun – 3 hours of direct sunlight each day.
  • Shade – less than 3 hours of direct sunlight each day.

2. The type of flower pot.

The two main types of flower pots available are:

  • Clay (ceramic) pots – for herbs and flowers that like dry soil.
  • Plastic pots – for most flowers.

3. The types of flowers you should buy

The types of flowers you buy should match the sun exposure of the flower pot location. You should find similar exposure symbols on each of the plants when you purchase them:

  • Full Sun – minimum 6 hours of direct sunlight each day.
  • Partial Sun – 3 hours of direct sunlight each day.
  • Shade – less than 3 hours of direct sunlight.

4. Your ability to maintain and care for the flowers

You should be prepared to water the flowers each day and remove the dead flowers and leaves regularly. Removing dead flowers promotes new blooms.

List of Materials and Equipment

All of the following materials can be found at Home Depot, Canadian Tire, Superstore, or any local garden shop. The flowers and equipment may vary in type and style. Some items are seasonal and only available in spring and early summer. Most items are available all year.

  1. Small Garden Shovel
  2. Water Hose with Shower Nozzle (or Watering Can)
  3. Small-Medium Rocks (approximately 2 liters)
  4. Flowers.

Minimum requirement for this project:

  1. 1 x 5” Saratoga
  2. 3 x 2” Petunias
  3. 4 x 1” Lobelia
  4. Potting Soil Mix – minimum 60 liters.
  5. Scissors
  6. Garden Gloves
  7. Sheet of Plastic or Garbage Bag (size: 3ft x 2ft)
  8. Plastic Pot with drainage holes (size:16”top with 10” bottom).

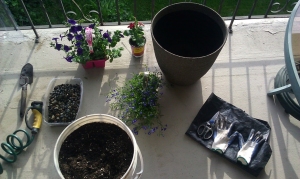
Materials and Equipment Needed to Plant the Flowers

Materials and equipment

Steps to Planting Flowers in the Pot

Make sure to follow each of the steps and sub-directions in sequential order. The main steps include: (Step 1) set up materials and equipment, (Step 2) prepare the pot, (Step 3) prepare the flowers, (Step 4) plant the flowers, and (Step 5) water and care for the potted flowers.

Step 1: Set Up Materials and Equipment

  1. Purchase and have all materials and equipment ready.
  2. Put on gloves.
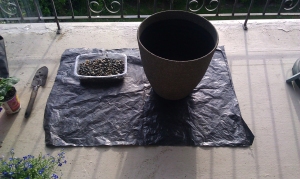
  3. Place the plastic on the ground to keep the area from getting dirty.
  4. Place the pot on the plastic to one side.

Plastic and Pot Set Up

Plastic and pot set up

Step 2: Prepare the Pot

  1. Put the rocks in the bottom of the pot
  2. Fill the pot with potting soil until just over ¾ full.
  3. Make sure you have enough soil reserved to fill the remainder ¼ of the pot.
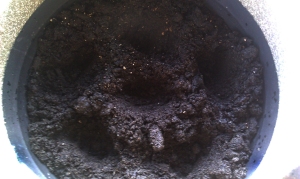
  4. Dig 6 shallow holes in the soil.

Shallow Holes in the Soil

shallow holes in the soil

Step 3: Prepare the Flowers

Be gentle and take your time when handling the flowers. Try not to crush or break stems and leaves. Some breakage may happen by accident; this is usually OK. Most plants will recover from damage if cared for properly.

  1. Water the flowers using a gentle stream until the soil and roots are moist.
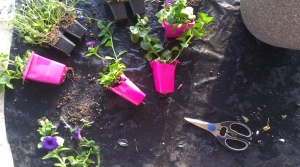
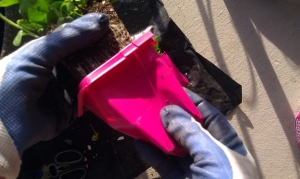
  2. Cut the plastic flower containers into individual pieces with the scissors.
  3. Arrange the flowers in the pot to visualize how you would like them while they are still in the plastic containers.

Cut the Plastic Flower Containers

Cut the containers

Arrange Flowers in the Pot

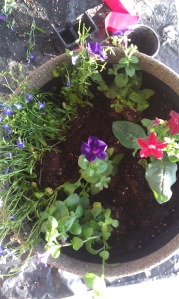
All plants in the pot

Step 4: Plant the Flowers

When handling the flowers, grasp gently near the base of the stems where they are strongest. Take your time and be careful with the stems and leaves.

  1. Hold the first container by the flower base, turn it upside down and look at the bottom.
  2. Remove any roots sticking out of the bottom container by pulling or cutting them.
  3. Hold the flower base with one hand and squeeze the bottom of the plastic container with your other hand.
  4. Keep squeezing the container and pushing the roots upward until the flowers and roots are out of the container.
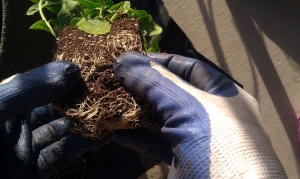
  5. Gently break up the bottom of the roots so they are hanging loosely. (This will help the flower plant to grow quickly, and to its full potential, in the new soil.)
  6. Place the flowers and roots in one of the shallow holes in the pot.

***Repeat these steps 1-6 with each flower container you wish to plant***

Squeeze the Container and Push Roots Out

Squeeze container

Break up the Bottom Roots

Break up the bottom roots


Once you have all the flowers out of the plastic containers, the bottoms of the roots are gently broken up, and each plant is placed in the pot arranged as you like; you may proceed with the following steps.

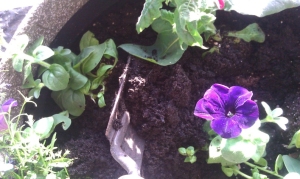
  1. Scoop soil using the shovel, from the ¼ reserved potting soil, and put it around the base of the flower plant.
  2. Repeat step 7 for each flower plant in the pot.
  3. Fill the area around each flower plant from the remaining ¼ reserved soil until there are no roots showing.
  4. Gently press the soil around the base of each flower plant with your hands.

Scoop Soil and Fill the Area around Each Plant

Scoop soil and fill in

Step 5: Water and Care for the Plants

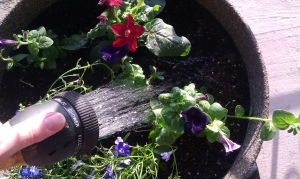
  1. Water the base of each flower plant in the pot, using a gentle stream of water.
  2. Wait for the water to soak in, and water again.
  3. Gently wash any soil off the leaves and flowers.
  4. Let the water fully drain out of the pot. (This may take 5-10 minutes.)
  5. Place the pot of planted flowers in the location you chose. (The flowers in this example will require a “Part Shade” location.)
  6. Water every second day, or keep soil moist.
  7. Pick off dead flowers and leaves every day, throw them away.

Water the Base of Each Flower Plant

Water the base of each flower plant

Finished Outdoor Potted Flowers

pots latest picture 2

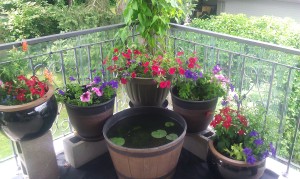
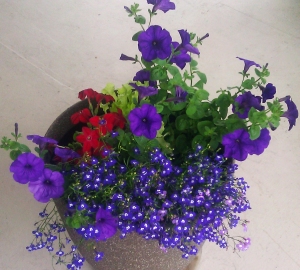
Once you have completed Steps 1-5, the flower pot should look similar to this.

This photo taken July 4th, 2013,  about 3 weeks after planting

Flowers are now in full bloom

Potted flowers July 2013

More Information:

The flowers used in the above instructions can be found on these websites:

The flowers used in the above instructions can be found on these websites:

Here are some websites to help plan and care for your outdoor potted flowers:

Trouble Shooting and Problems

Below are some potential issues that you may encounter during this project and a list of suggested solutions.

Water does not drain from the soil.

  • The pot needs to have drainage holes.
  • Check to make sure the pot has drainage holes.
  • Check to see if the drainage holes are blocked.

The flowers are limp and the leaves are wilted.

  • Most flowers need to have moist soil.
  • Do not buy wilted, dried-out flowers.
  • Do not let the soil dry out.
  • Water the flowers before you begin planting.
  • Water the flowers after you finished planting.
  • Do not let the flowers sit exposed and out of the container without water for more than 1 hour.
  • Once you have finished planting the flowers and watering them, and the water has drained out of the pot; wait 24 hours for the flower plants to recover and leaves to strengthen.

There are many broken stems and leaves.

  • There may be flowers, stems, or leaves that break off in this process.
  • Be careful while handling the flower plants.
  • Remove any broken leaves or stems.
  • As long as there is a plant fully attached to the roots, the plant should grow and recover with continued care.

The soil dries out quickly.

  • Small pots dry out faster than large pots.
  • Small pots will need more frequent watering than larger pots.
  • Use water gel from your local flower shop to decrease watering times.

Warnings

The finished outdoor potted flowers in this project will be quite heavy and weigh approximately 50-60lbs.

  • Bring the materials and equipment near the location you chose for your flower pot.
  • Follow these directions near the location you choose for your flower pot.

Some flower plants may be poisonous, and should not be eaten.

  • Read the labels before purchasing flowers.

Copy Right

All photos by Minde Wagner.
Read Full Post »

Harvest time is a time to be thankful

After the storm that dismantled much of my garden a few weeks ago, with a little cleanup and tender loving care, the garden took on another form of beauty.

On Canadian Thanksgiving (October 9) we  had a family and friends dinner/ party at the garden farm ‘Red Barn’.

Everyone brought something, (we brought a turkey). We didn’t spare the sweet and the savory.

A warm fire in the fire pit nearby invited us to come and sit, share stories and enjoy the art of roasting marshmallows.

This is what the day was like…

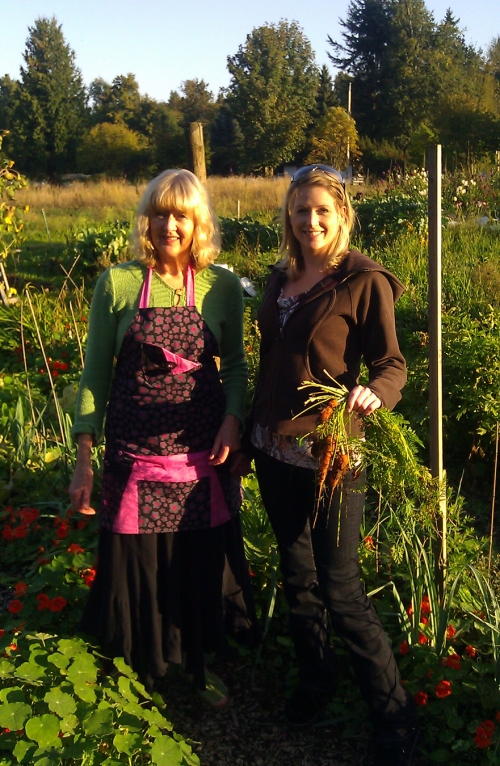
Mother and daughter, gardening companions – Thanksgiving day harvest 2011 Carrie ©
Towards the end of the day we harvested beets, carrots, cucumbers, kale,  lettuce, and a few last hour green beans.
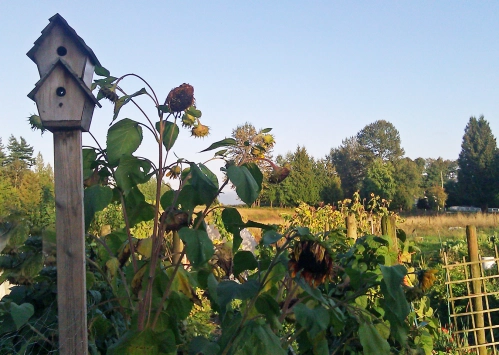
Birdhouse ready for rent in spring  – 2011 Carrie ©
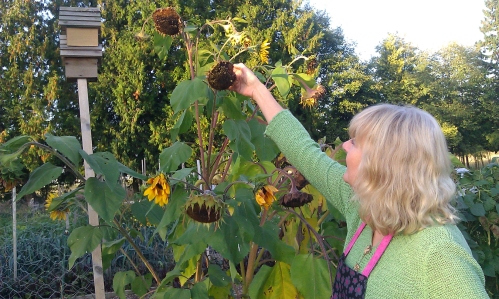
We share our Sunflower seeds with the birds – 2011 Carrie ©
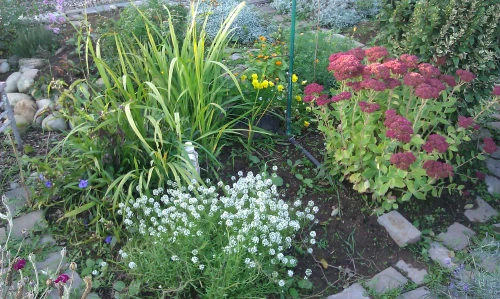
Alyssum, Sedum, Calendula – 2011 Carrie ©
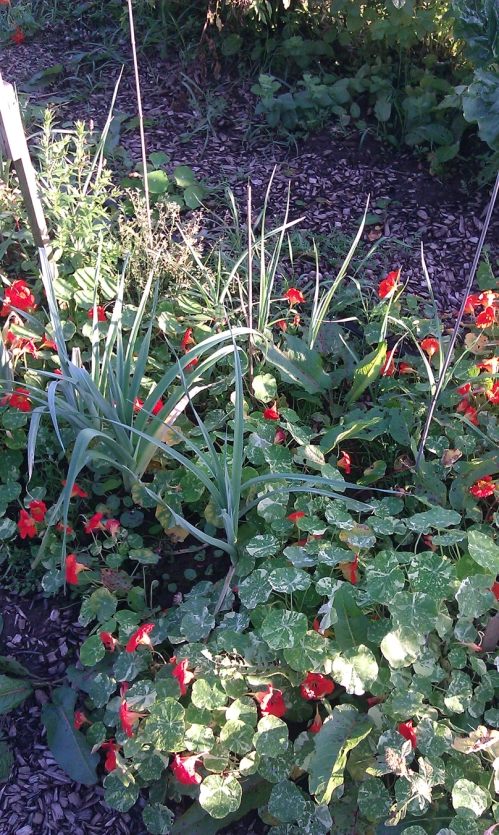
Leek among the Nasturiums – 2011 Carrie ©
Leeks can be harvested up until February. We’re looking forward to leek soup this winter. 
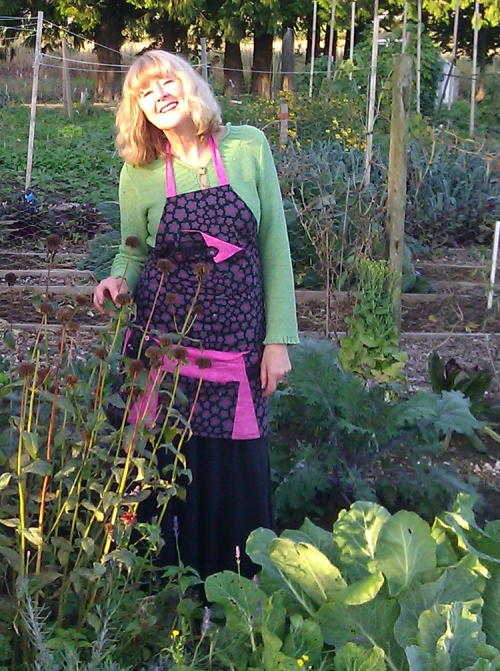
Me in my garden Thanksgiving day – 2011 Carrie ©

Am I thankful for my garden or what? 

Next post – vote for your favorite vintage apron design. 

Sneak preview – I’m wearing one of them.

Thank you for visiting.


Read Full Post »

A floral feast found in my garden

A few days after I took these flower photographs,  a wet and wild storm lasting the night, dismantled much of the garden.

But... this flower photographing day I had a great day. The garden amazed me with it’s wonders.

Photo Gallery of flowers 

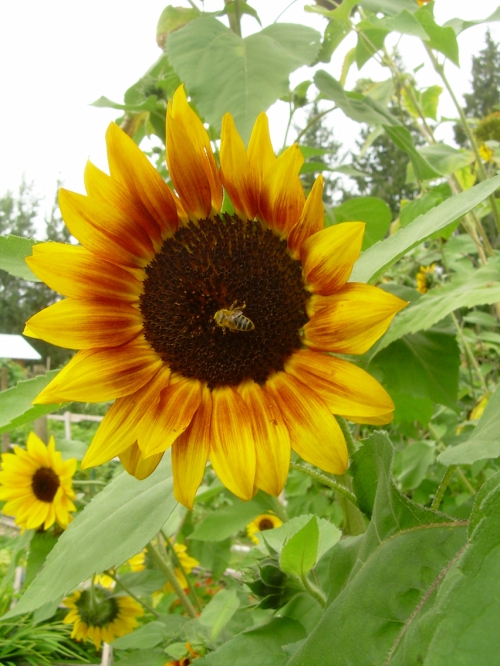
Bee in a Sunflower 2011 Carrie ©

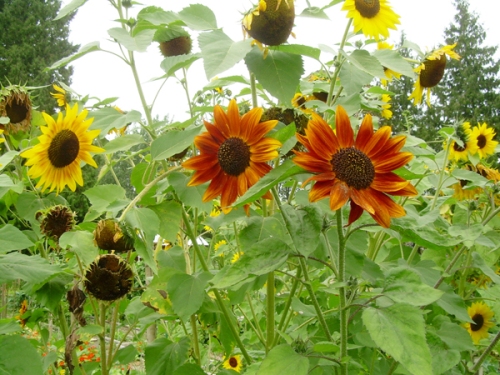
Rustic Sunflower variety - 2011 Carrie ©

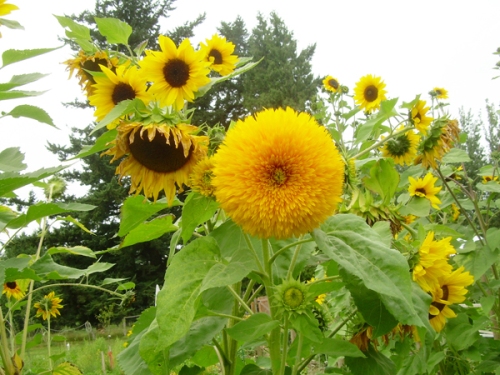
Teddy Bear Sunflower 2011 Carrie ©

I don’t remember planting him… it appears he is one of the garden volunteers.

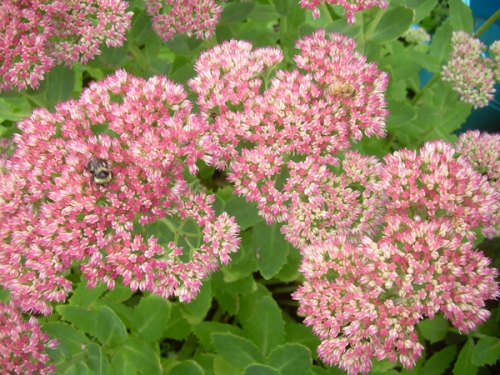
Bumble Bee and Honey Bee on Sedum 2011 Carrie ©

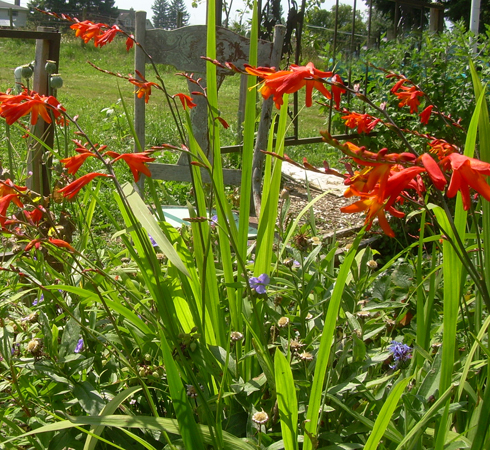
Chair in the Crocosmia Red Star - 2011 Carrie ©

Hummingbirds love this flower. We had many visits from them this summer.
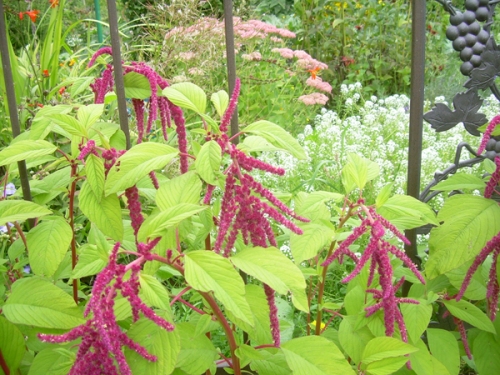
Love Lies Bleeding 2011 Carrie ©

These flowers make a stunning addition to an already stunning flower arrangement.

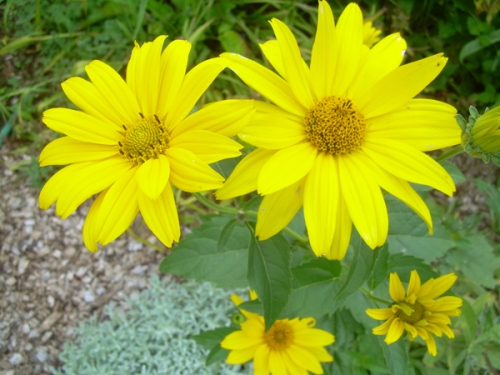
Yellow Daisies 2011 Carrie ©

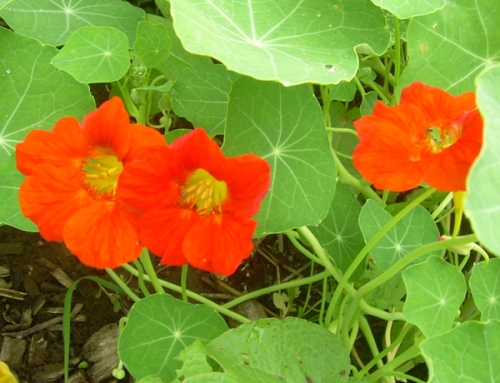
Red Nasturium 2011 Carrie ©

As well as helping to keep the garden free from bad bugs, Nasturiums are edible, and very healthy.

 Herbsarespecial.com article states that scientific research has found the plant has:

  • a natural antibiotic action that is fast-working in the body 
  • The antibiotic agent, tromalyt, has been found in the urine within one hour of digesting the herb
  • This antibiotic does not interfere with intestinal flora
  • It has been found to be effective against some microorganisms that have built up resistance to common antibiotic drugs

I enjoy a few whenever I’m in the garden. They have a peppery taste that goes great with a fresh salad.

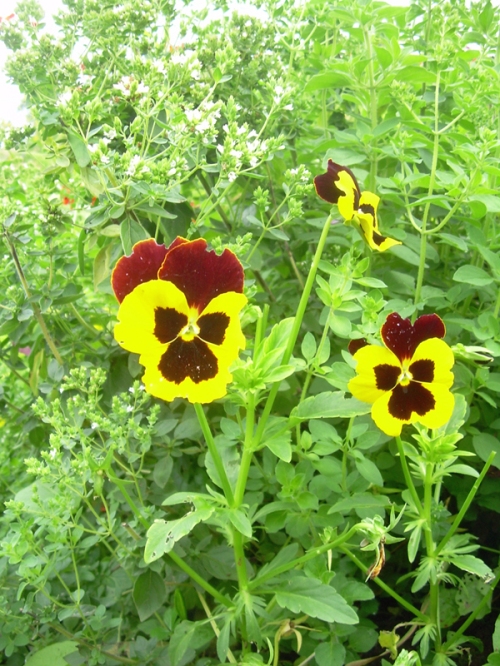
Smiling faces - Pansies 2011 Carrie ©

A little nibbled around the edges, but still smiling.

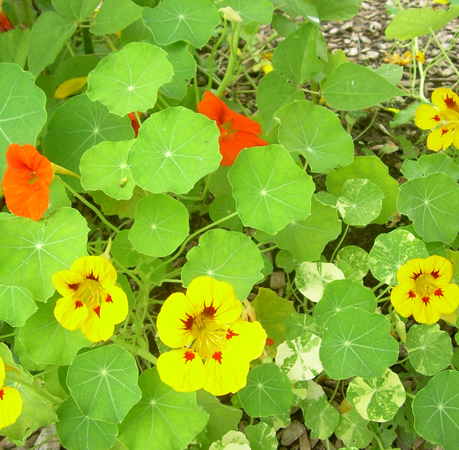
Yellow Nasturiums 2011 Carrie ©

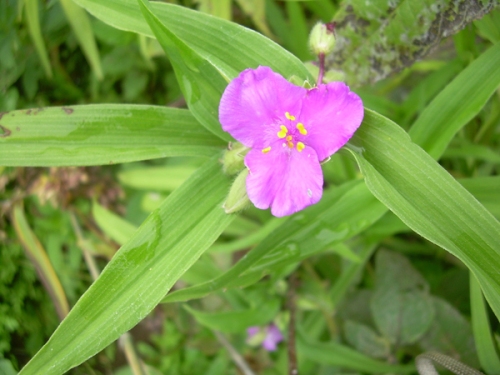
Virginia Spiderwort 2011 Carrie ©

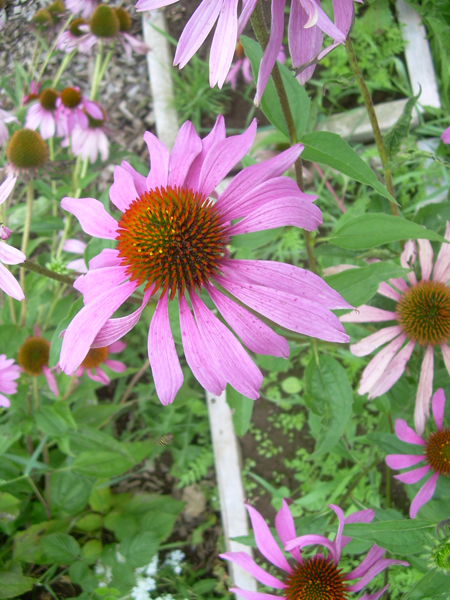
Echinacea 2011 Carrie ©

Hyacinth - 2011 Carrie ©

Another volunteer blooming somewhat late in the season.

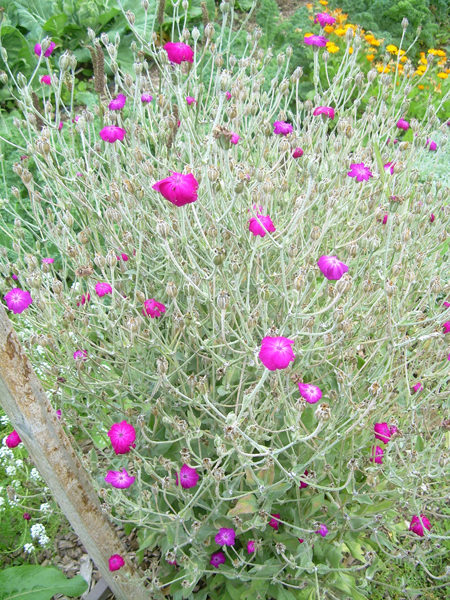
Rose Champion (Lychnis) 2011 Carrie ©

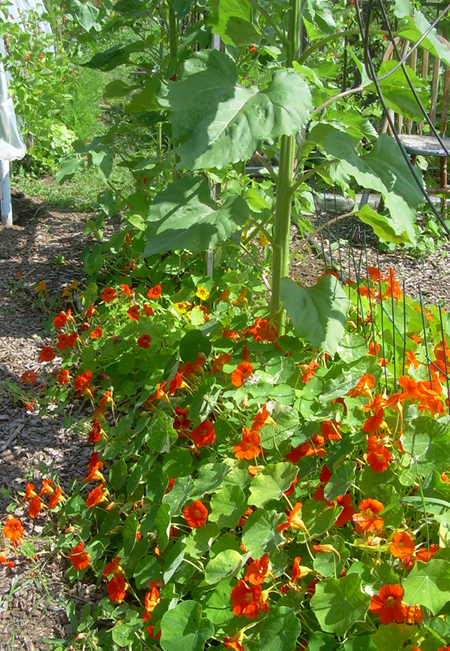
Nasturiums among the Sunflowers & cucumbers - 2011 Carrie ©

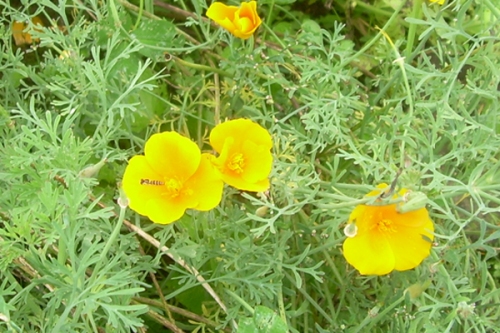
A bee enjoying the California Poppies 2011 Carrie ©

I can hardly wait until next spring to see what floral surprises are awaiting.

disclaimer: The content on this post is meant for informational purposes only, and is not intended for use as official health consultation

Read Full Post »

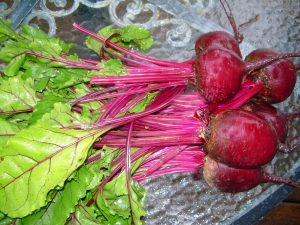
Sweet red beets.  This year my organic garden has a perfect crop of red Beets.  I am so happy!


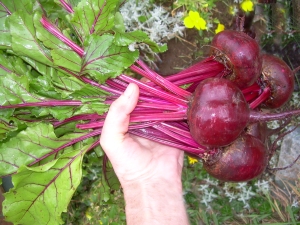
Red Beets in my garden - Carrie ©

Why do I love my beets so?

Because red beets:

  1. are sweet and juicy ( I never realized how delicious raw beets are)
  2. are anti-carcinogenic
  3. are high in antioxidants
  4. increases oxygen-carrying ability of the blood by up to 400%
  5. were traditionally used to battle leukemia
  6. have been shown to inhibit colon and stomach cancer
  7. help reduce serum cholesterol
  8. help to normalize blood pressure
  9. are a powerful cleanser and blood purifier
  10. help to keep your arteries elastic
  11. help to prevent varicose veins
  12. are high in folic acid
  13. stimulate the function of liver cells
  14. protect the liver and bile ducts
  15. are highly alkaline
  16. help to relieve constipation
  17. are anti-inflammatory
  18. help in detoxification

If you are not use to consuming beets, give your body time to get accustomed to it. This is a powerful food.

(Warning: you may experience red stool!)

Beet juice is so powerful that it you may feel dizzy during cleansing. This discomfort is normal as toxins are being eliminated. It is advised to drink plenty of water to help in the elimination of toxins.”

Harvesting my Red Beets - Carrie ©

Ways we enjoy our sweet red beets:

  • Washed, peeled and sliced into thin slices (served with home-made dip)
  • Grated fresh or diced and added to one of our many varieties of fresh salads
  • Juiced
  • Washed and steamed for no longer than 15 minutes
  • Beet leaves are filled with nutrients as well. Washed and steamed or added to  juicing

2011 Carrie ©

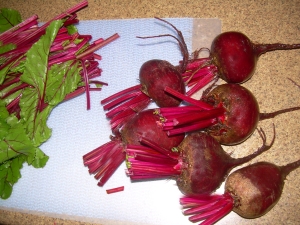
Beets prepared for steaming - Carrie ©

Red beet and carrot juice recipe

  • 1 whole Red Beet (leaves included if desired)
  • 2 medium sized Carrots (green tops included if desired)
  • 1 Apple

Juice and drink immediately.

This is one of my favorite “get started” in the morning juice recipes.

You’re sure to enjoy this next recipe…

Beet and cucumber salad recipe

1 whole raw beet, peel and diced

1 small/medium cucumber diced

1 small sweet onion diced

add dried or fresh dill

add 3 Tbsp. Apple Cider Vinegar

1 Tbsp. Extra Virgin Olive oil

Sea Salt to taste

a sprinkle of Mrs. Dash

mix

Let sit in the fridge for a day

Serve with a meal or enjoy alone

Drink plenty of water.

For more detailed information about the benefits of red Beets,

http://bit.ly/oSo3bV

http://bit.ly/qg0VN

disclaimer: The content on this post is meant for informational purposes only, and is not intended for use as official health consultation


Read Full Post »

Apparently the old adage “an apple a day keeps the doctor away” has merit.

Why does “an apple a day keep the doctor away?”

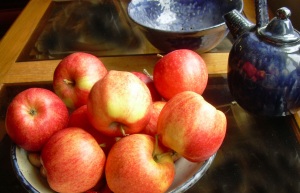
Organic Gala apples - Carrie ©

  • Apples are a good source of both insoluble fiber, roughage, and soluble fiber, pectin.
  • Pectin lowers cholesterol, helps digestion, and helps maintain steady blood sugar levels.
  • Fiber keeps the bowels working and healthy.
  • Apples are rich in vitamins and minerals.
  • Apple skin contains quercetin, an antioxidant that is very good for your heart and lungs
  • and lowers the risk of heart disease and fights cancer.
  • Apples can help control weight  – apples are effective in suppressing  the appetite.

So when you eat your organic apple, eat the skin as well.

Apples are perfect for juicing along with vegetables.

Every morning, I juice some vegetables and add an apple for taste.

An apple also makes a great mid morning or afternoon snack.

So if you’re on the run…why not grab an apple, feed your heart lungs, and keep that doctor away.

My favorite morning juice blend

1 large carrot

1 small to medium beet

a handful of spinach

1 apple

Juice, pour into a wine glass,  and drink to your health.

For more on the benefits of apples visit essortment.com

disclaimer: The content on this post is meant for informational purposes only, and is not intended for use as official health consultation


Read Full Post »

Recently bill C – 474 was defeated.!!

This bill, Bill C474,  was a safeguard for our Canadian Farmers!

Bill C-474 was a private member’s bill that would have required an analysis of market harm before new Genetically Modified (GM) varieties are released.

Most people want to the assurance that the food they eat is REAL, wholesome, and good for them.

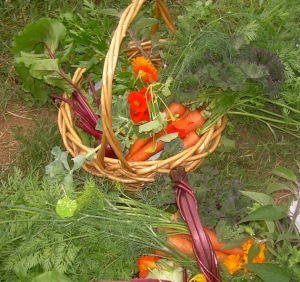
Baskets of REAL, fresh organic foods - Carrie ©

How can we be sure that what we are eating is just that?

REAL – and good for me.

If you are concerned about what you eat and what you feed your family,  you may want to consider going organic.

How does one “go organic”?


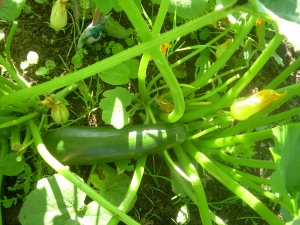
Zucchini growing in my organic garden 2010 - Carrie ©

This article,  Back to simplicity-basic, nutritious, wholesome food”, tells you how.

You’ll find a list of practical steps to help you on your journey to “go organic”.

Every effort is worth the effort. Your body will thank you. Your family will thank you.


Read Full Post »

Kale is a super, nutritious green food.

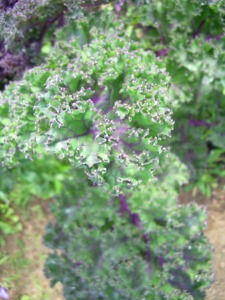
Curly purple kale - Carrie ©

That is one of the reasons why I grow kale in my organic garden.

This past summer I planted two varieties of kale – the curly purple kale and a long leaf green/blue kale. We enjoyed both but I do prefer the curly purple variety.

Kale is known to help protect the eyes as well as build and maintain healthy bones. It can be eaten raw or cooked.

To eat it raw, I either add it to my juicing along with other vegetables first thing in the morning, or I make dehydrated kale chips. It can be added to a salad or used to decorate a plate.

The dehydrated kale chips are a very viable substitute for regular chips, and provide a highly nutritious snack. They taste so good there’s usually none left for another day.

I’ve posted a recipe for kale chips as well as several other ideas on how to serve kale, at Healthy living examiner.com

This summer I intend to try yet a third variety of kale – the curly green variety. Variety is the spice of life.

Read Full Post »

As I was working on one of my latest art pieces, I found myself smiling.

This was often followed by a soft sigh.

Why? My lightening fast mind kicked in and reminded me that it’s at these moments that my body produces significant amounts of DMAE.

That I was involuntarily producing an anti-aging hormone brought another smile to my face.

Yes, the anti-aging DMAE hormone we all long for…  at least those of us who care. Those who realize we are coming apart at the seams… somewhat.

Before I get on to the DMAE anti-aging – easy to acquire youth hormone… let me add an aside.

A big Thank you to my faithful readers… those who’ve checked in on my site during the summer/fall months.

My usual, at least once a month post, dragged out to be every other month… but I have not forgotten you.

That darn organic garden just took over…weeds and all.

Some important tasks, like blogging, were left for a another day.

Actually I loved the gardening – even the weeding.

A little piece of heaven in my otherwise whirlwind of a world. Anyone know what I’m talking about?

Well, now that ‘nother day is here.

I’ve put the garden to bed for the winter and it’s time to get back into things like blogging and painting.

What makes me smile…

“Milking Rosie”

The story behind Milking  Rosie.

As a child, I would visit my grandparents’ farm on a daily basis. I especially loved to hang around at milking time.

One aunt would often conscript me to hold the cow’s tail to keep it from swatting her in the face.  That tail had a nasty sting as I soon discovered.

Cats and their kittens came out of the barnwork, and waited patiently for a squirt of warm milk. They got pretty good at catching the stream.

Milking Rosie sketch - (oil painting to follow) Carrie ©

Etched in my memory, this experience always brings a smile to my face – the kind of smile that supposedly  immediately increases the levels of DMAE in your body. (anti-aging !!!)

Happy thoughts, laughter, giggles, anything that makes you sign and go ‘ahh.

Think on these things and your internal fountain of youth will begin to bubble and then pour.

(Check out my post on “God Gave Me Laughter” for more on what happy thoughts can do for you.)

https://nuggetsofgold.wordpress.com/2008/11/24/god-gave-me-laughter/

In my research, I discovered that anchovies, wild salmon (not farmed) and sardines contain DMAE.

Rosie, was a Jersey cow.  Jersey cows are quite beautiful, I think.

Anyone who has met a Jersey will be captivated by their eyes. Big, beautiful, soft, and gentle with thick, long and curly eye lashes. (to die for eyes)

Jersey cows produce much more cream than other cows. Rosie gave us plenty of rich cream to turn into butter.

Making butter the way we did, was the perfect arm muscle toner/builder. (another sure fire way to up your DMAE – good healthy exercise)

Today we set aside time to lift weights and count to 10 or 20. Back then we had to shake the container until we had butter. A lot longer than a count to 10 or 20.

My thought for the day – seek out those things that make you smile and make some butter.

As for me, I’m planning to have several more “smile” moments thoughout the day.

And, I think I’ll have Wild Pacific Salmon for dinner…again.

As for making the butter…perhaps tomorrow.

Read Full Post »

Breakfast in my garden - Carrie ©

I took this Month’s Theme photo very early one hot July morning. Chairs that were meant for the garbage dump, now nestle invitingly among  the Sunflowers, Cukes and Nasturtiums.


Cukes and Nasturtiums are two great Companion Plants.

How do Nasturtiums make good companion plants?

Their job in the garden is to excrete a strong essence into the air and soil.  This will help you in your fight against aphids, white fly and also root pests. This essence is secreted into the soil where it works for you to deter plant pests.

You can also plant Nasturtiums between all cabbage family plants, fruit trees, melons, pumpkins, potatoes.

Nasturtiums are very healthy to eat.

These flowers are high in vitamin C, iron and other minerals, and are a powerful antibiotic, antimicrobial, antioxidant .

Try adding them to a fresh green salad – you’ll discover a peppery, juicy taste which is quite delightful.You can eat the hot pungent seeds as well.

I enjoy munching on a few Nasturtium flowers along with some Sugar Snap Peas and a juicy carrot, while working in my garden.

Blue chairs under an umbrella- Carrie ©

Natures flower arrangement in an old chair - Carrie ©

I love this chair. The brilliant orange/red flowers attract bees and hummingbirds. They are sure to visit me, when I visit the garden in the early hours of the morning.

Blue chair amongst wild flowers- Carrie ©


Some things I learned this summer:

  • the garlic and onions I planted throughout the garden worked amazingly well. Very few bad bugs and worms to speak of.
  • plant rosemary by the beans
  • don’t plant garlic around the beans
  • the cabbage family likes dill and vice versa
  • watermelon is hard to grow in this climate
  • pumpkins take a lot of food and nurturing – big takers
  • beans and peas are givers, giving back nitrogen to the soil so move them around in the garden each year.

Extravagant poppies - Carrie ©

Love Lies Bleeding - Carrie ©

Rustic sunflower - Carrie ©

Brilliant pinks - Carrie ©

Broccoli bunch - Carrie ©

Just picked and perfect - Carrie ©

Baskets of blessings – Carrie ©

Romaine and strawberries- Carrie ©

Zucchini - Carrie ©

Dill amongst the peas - Carrie ©

Garden Path - taken in July - Carrie ©

This 100 ft. by 20 ft. organic garden turned out to be one of the best things that could ever happen to me .

I’ve been planning to get back into some sort of  ‘get back into shape’ program for the past year or so…well, I found it. Not only do I have the most amazing, bountiful, beautiful garden,  (Thank you God – you are the amazing master gardener), but I also am on an exercise program that I actually enjoy.

What to do for my exercise program during the winter months?…that’s another blog.

Read Full Post »

For the past few weeks I’ve been digging deep and getting my roots into organic gardening.

First things First...My husband planting a few raspberry bushes

After  putting stakes around our garden section, my husband (far right) promptly dug up a spot in the middle of the garden for his favorite fruit, raspberries.

Our garden spot, approximately 20 feet wide by 100 feet deep.

Pretty ambitious I know…but I grew up with BIG gardens, and had my own little (almost organic) garden for years… so am well aware of what I am committing to.

What’s the story behind this

Organic Gardening Community?


A friend with a farm, and a 6 acre  field, is the impetus for this inviting Organic Gardening Community. This year will be the first of organic gardening for most of us.

A lot of Googling, along with wise advice and teaching from organic garden specialists, is making this experience not only interesting but also quite invigorating.

Let’s just say I am having a lot of fun getting into shape in more ways than one.

Course I’ve had to take several Epsom salt/ lavender baths and drink my Xango Mangosteen juice and Black Cherry juice faithfully…all great detox, high anti-oxidant solutions,  for those achy sore joints and muscles…

A week or so later…and with a lot of good old get down dirty digging, here’s what we accomplished.

Herb Garden in progress

Then our daughter got in on the action. We took her Chevy 1/2 ton up to the top of the field and gleaned some rocks for my herb garden.

A few days later…The Herb Garden is almost complete

Now things are beginning to take shape.

I promised you a Community Organic Garden with a TWISTit’s coming…

To my herb garden, I added some high quality organic mushroom compost and began to plant. I planted strawberries right at the top. I also gleaned some thyme and sage from my home herb garden and transplanted them among the rocks.

I couldn’t resist picking up some pansies to remind me of what’s yet to come…
Now back to the real work.

May 1st - Gardeners 'making hay' while the sun shines

Can you picture a more beautiful garden setting???…I am really beginning to feel like a farmer now.

So far I’ve got the beans and peas planted, pickling cukes, a variety of lettuce, spinach, Swiss chard, and garlic ( garlic I planted all over the garden to ward off the vampires and other such nasty garden pests), rosemary along with carrots, and leek, onions and chives.

The poles with chicken wire are for the beans, peas and pickling cukes.

I transplanted some flowers into my flower garden  just in front of  the herb garden.  I can’t imagine a garden without Lavender…so I added some of that as well.

Laughing Bunnies - Carrie ©


One bright morning, I found bunny tracks on one of the beds… so immediately a gardening friend researched how to discourage rabbits from loving our gardens… a few plants they don’t like are lavender, garlic and catnip.

So I planted all three.

I do hope the laugh won’t be on me.

Also I discovered, you can sprinkle garlic powder around the plants – this is supposed to work quite well.  I might give that a try if the other doesn’t do the job.

As much as I love bunnies, you don’t need my lettuce… there’s no shortage of clover and healthy non-sprayed dandelions out there for you little critters.

And here is a site with a long list of plants rabbits don’t eat.

So What’s the TWIST ??

Every Tuesday evening, about 25 (and growing) of us community gardeners meet in the loft of the barn for dinner and digging.  We eat, get the updates and training, share our knowledge, and go dig in the dirt.

As a community, separate from our individual gardens, we will be planting potatoes and corn of which we’ll share the fruits.

We all take turns bringing the soup, buns and dessert. The loft has been transformed into an inviting and unique meeting place… or just a place to hang out and enjoy a cup of coffee, tea and tasty torte, after gardening for a few hours. With hot running water, a sink, oven, tables, chairs, and couches, we are well pampered farmers.

You don’t find all this in your everyday garden community.

Our  friend and owner of Little Farm Products has a very creative imagination and generous heart. The opportunities are endless.

That’s the TWIST.

Next time…all about Complementary Gardening and Gardening with the MOON.


Read Full Post »